CCAE Ornament
Welcome to the resources page for the Stitch Your Pet! Custom Embroidered Ornament class. Here you’ll find a list of tools and resources to help you finish your project and get started on future projects! Please email Kendall (kkulper@gmail.com) with any questions. Thanks!
Supplies
Thread: DMC 310 (black). For sparkly thread, check out DMC’s light effects line. If you have any problems with fraying, try using thread wax! For storage, I like these plastic bobbins. Make sure you write down the color code before you unravel the skein. If you're having trouble threading your needle, try a needle threader.
Hoop: We used this 4” hoop for class and this brand is a great, basic option for hoops. The company I mentioned that makes beautiful hoops and hoop frames for display is ACMS.
Fabric: We used this white canvas fabric. The fabric I usually use for my projects is a cotton-linen blend from Robert Kaufman’s Essex line.
Needles: We used DMC Embroidery needles in size 5 or 7 in class, and the needle I use is by Tulip and is a Milliner’s needle in Size 7.
Pattern-making: The water-soluble pattern paper we used is called Sticky Fabri-Solvy by Sulky. I made all your patterns with my iPad using Procreate. To draw patterns onto fabric, you can use a water-soluble marker or a heat-erasable pen.
Hoop stand and accessories: Highly recommend a nice hoop holder, either this tabletop version like I used in class or a floor version I use in my studio. It helps to glue a magnet to it for needle storage or you can get a needle minder.
Good lighting: I use this craft light while I work and it’s very helpful to avoid eye strain.
Finishing your piece
You finished stitching your pattern! Now what?
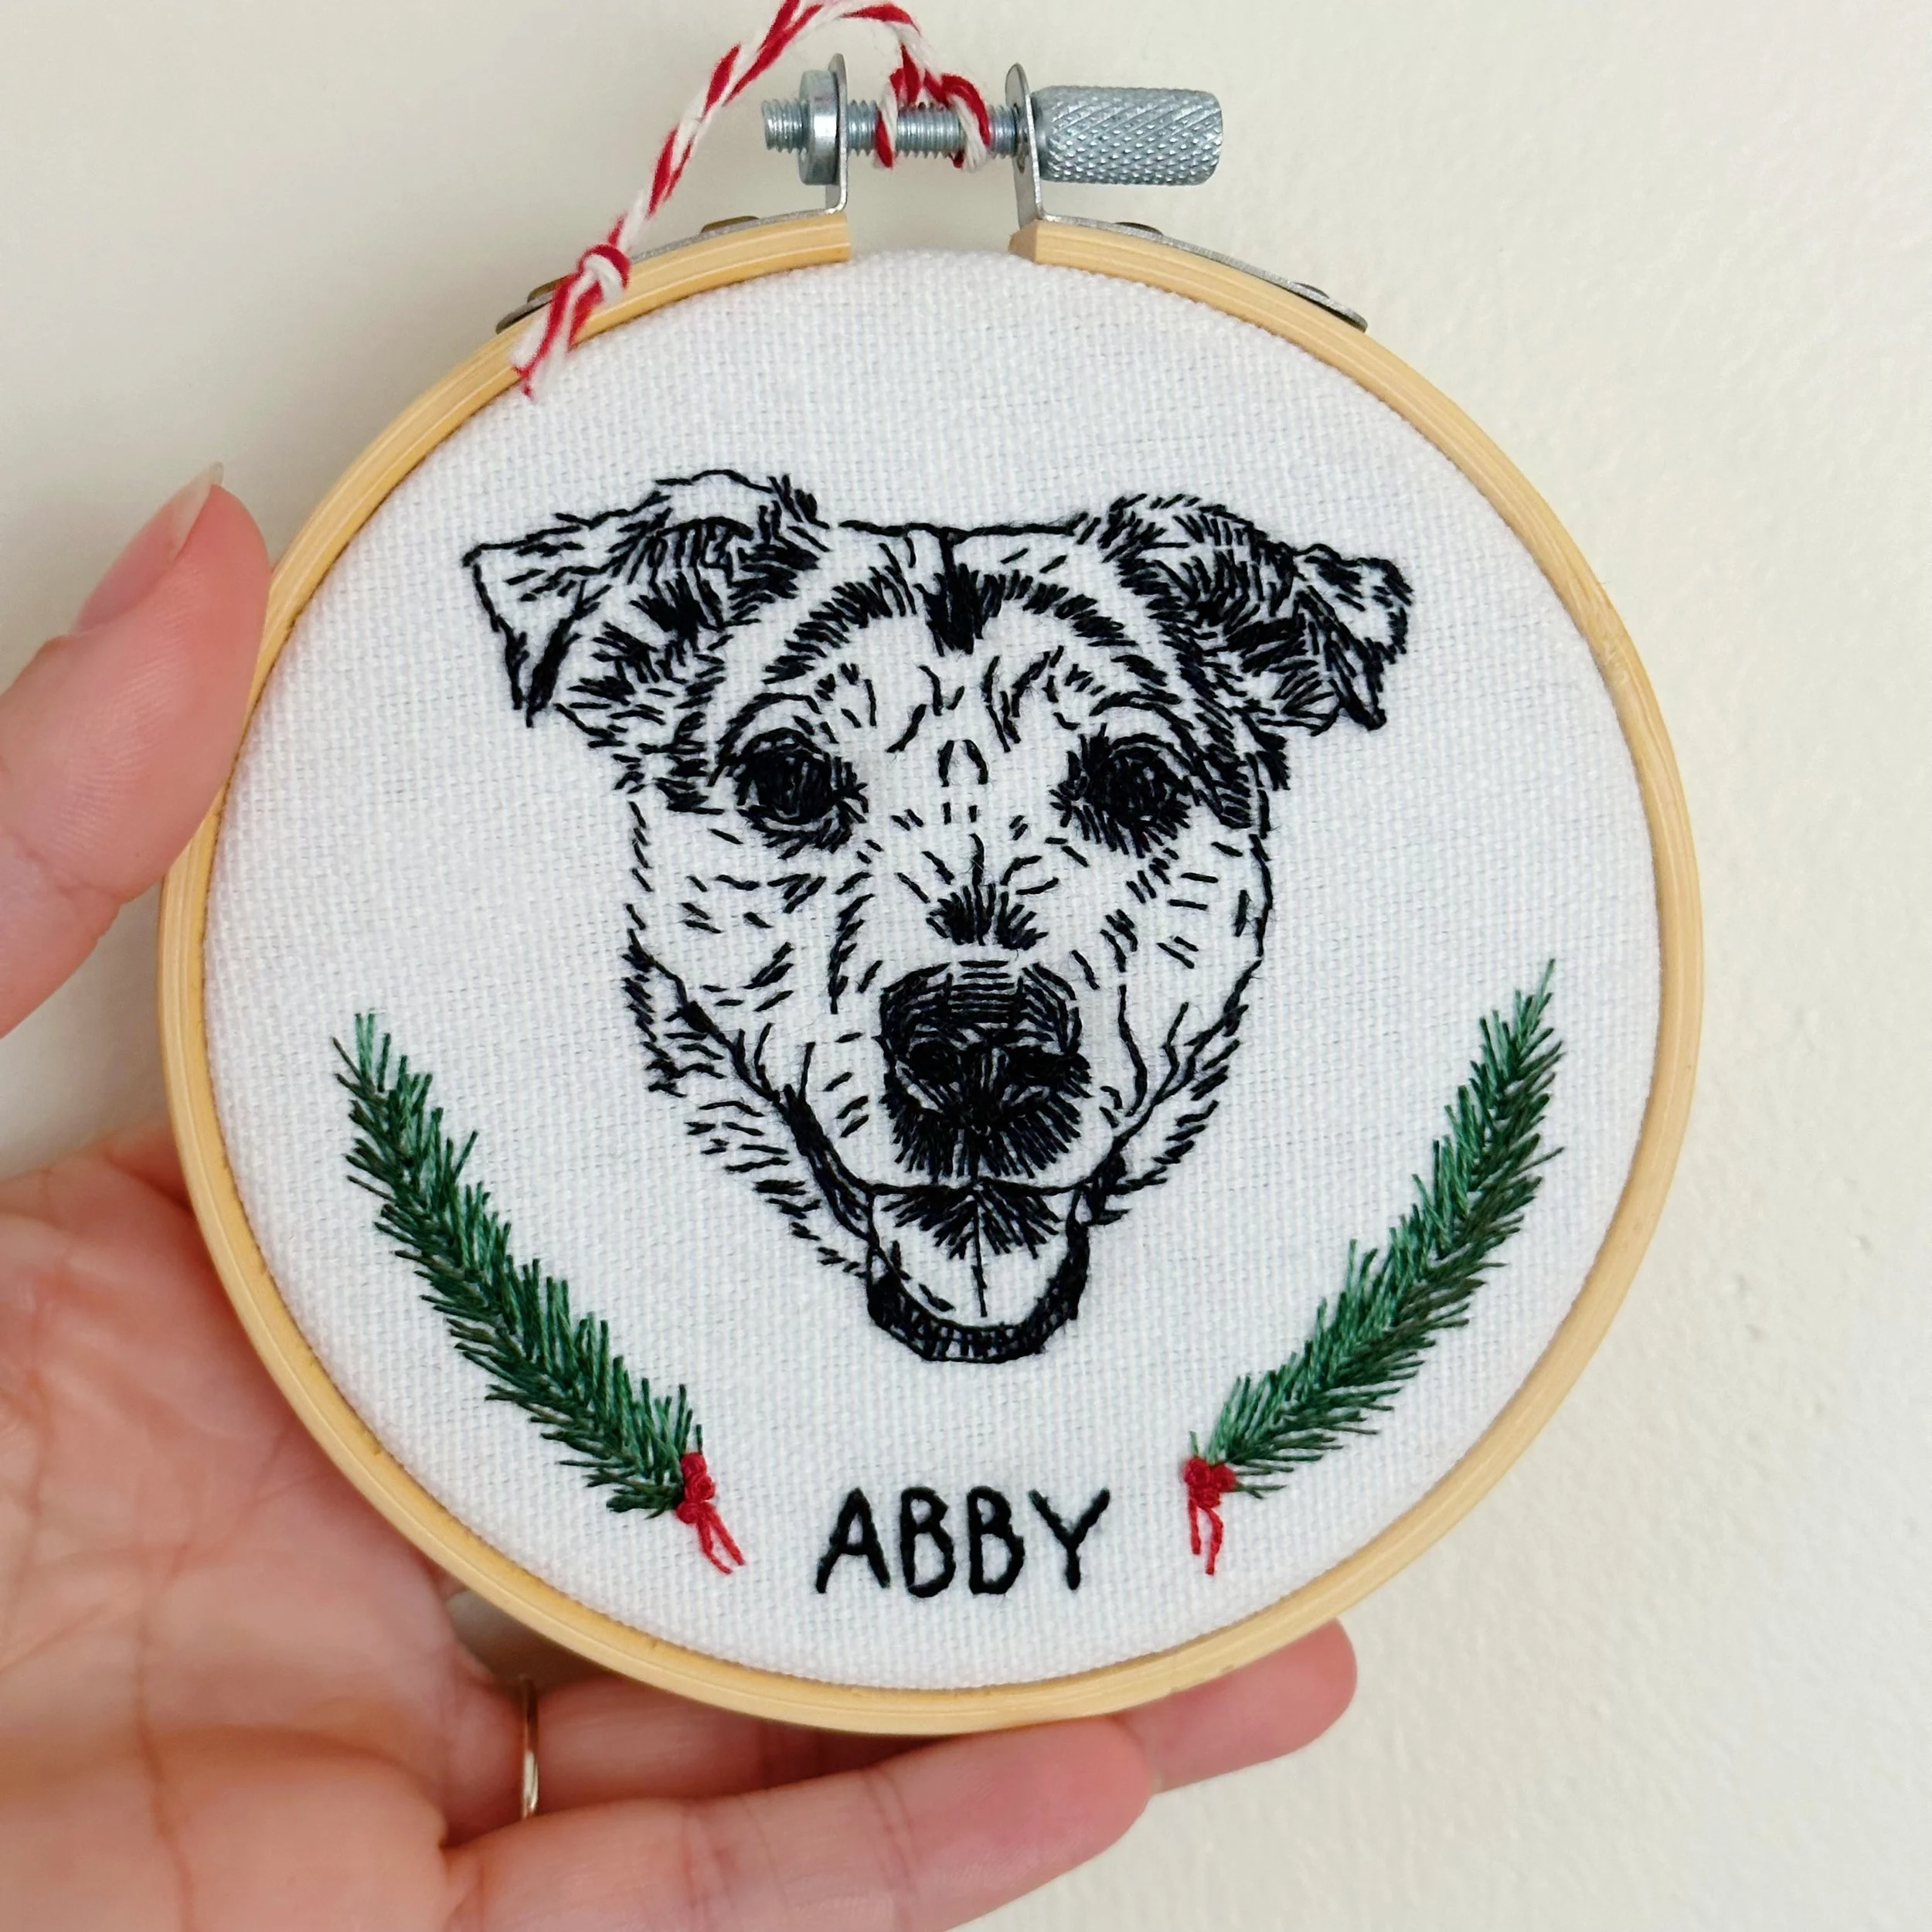
Stitch your details! Add flowers, dots, stars, holly branches, or anything you’d like! Here are a few tutorials for decorative stitches:
French knots
Stars
Simple flowers
Turn your piece over and, with two strands of thread, make a running stitch all the way around the edge of the excess fabric. Pull tight to draw in the fabric (see an example here) and secure with a knot.
Remove the outer hoop and set aside. Wash off the pattern paper by running your piece under warm water and gently rubbing off the paper, then let your piece soak in water for about an hour before rinsing again. Check out the video for more details!
When your piece is completely dry, put the outer hoop back on. If you’d like to back your piece with felt, cut out a circle from your felt a little smaller than the hoop. Either stitch on the felt (using this method) or attach with hot glue.
Hang up your hoop and enjoy!
OPTIONAL: feel free to decorate your wooden hoop by painting (with acrylic craft paint) or adding glitter!
Additional Resources
Check out my Instagram account for more tutorials (saved on my profile page in the saved stories section). For more supplies I use and recommend, visit my Amazon Storefront or Supplies page. Feel free to email me with any questions!